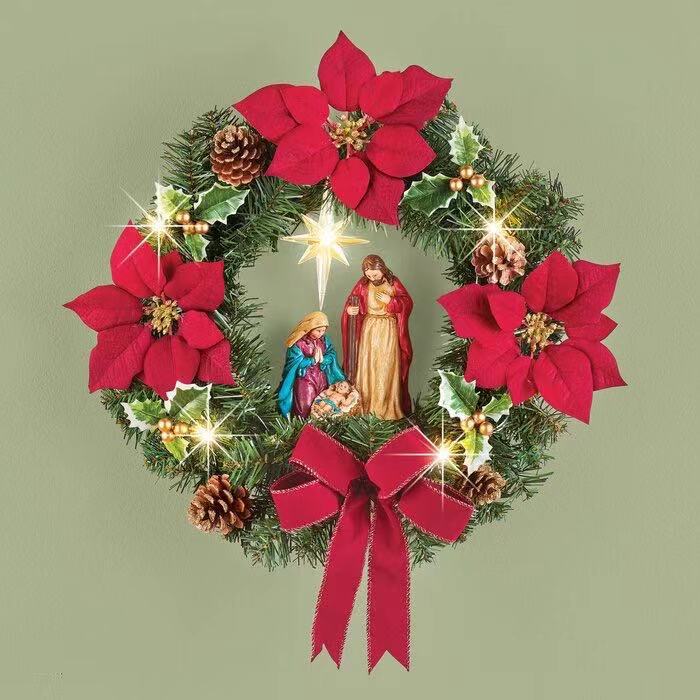
Crafting your own Christmas garland is a delightful way to infuse your holiday decor with a personal touch. In this article, we guide you through the process of creating a DIY Christmas garland:
- Gather Your Materials: Collect the necessary materials, including evergreen branches, wire, floral tape, ornaments, ribbon, and any other decorative elements you desire.
- Choose a Base: Select a sturdy base for your garland, such as wire, rope, or a pre-made garland. This will serve as the foundation for your design.
- Branch Selection: Arrange evergreen branches of your choice along the base, securing them with floral tape or wire. Ensure even spacing and coverage.
- Add Ornaments: Incorporate ornaments, pinecones, and other decorative elements by attaching them securely to the garland using wire or hot glue.
- Ribbon and Bows: Weave festive ribbon or create bows along the garland to add color and texture. Experiment with different ribbon styles and lengths.
- Light It Up: If desired, weave string lights through the garland for a magical glow. Battery-operated LED lights are a safe and convenient option.
- Personalize: Add personalized elements like family photos or handcrafted ornaments to make the garland uniquely yours.
- Hang with Care: Hang your DIY garland with hooks, nails, or removable adhesive hooks, depending on your desired location.
- Maintenance: To keep your DIY garland looking fresh, mist it with water regularly to prevent drying and needle drop.
- Store Thoughtfully: After the holiday season, store your DIY garland in a cool, dry place to ensure its longevity for future use.
Creating your own Christmas garland allows you to express your creativity and craft holiday magic that reflects your unique style and personality.


